Smoky eye makeup isn’t an everyday thing but when you do it, it’s iconic and the recipe for a good night. A sexy smoky eye makes your eyes pop and automatically gravitates the attention to your face. Mastering the perfect smoky eye isn’t as hard as it looks. It’s all about the blending. It’ll still take some practice to perfect the blending technique but this simplified, broken down routine will be sure to help! No matter which products you use, the technique is the same. We’re going to show you a technique with high-end products and then below we offer the same products but for cheaper.

Begin with primer. The Nars Pro-Prime Smudge Proof Eyeshadow Base ($26) is the perfect product. Using primer is a crucial step. It’s as crucial as putting on sunscreen in 100 degree weather; you just do it. The reason we use primer is to keep the shadow locked into our eyelid all day. It also helps to prevent creasing throughout the day. Primer keeps your makeup from smudging and getting all over your face, which would be very messy when dealing with such dark colors. Put the primer all over your eyelid but also along the lower lash line that way the shadow grips the under-eye area as well.
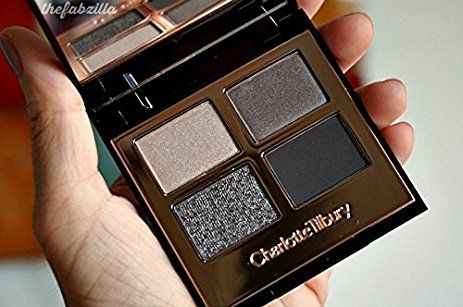
Next, grab your eyeshadow palette. Make sure your palette has dark colors such as black, navy, gray etc. We recommend the Charlotte Tilbury Luxury Palette Colour-Coded Eyeshadow Palette ($53). This is where it gets tough, so pay attention and be careful. Apply your base eyeshadow color along the top of your eyelid. The first base eyeshadow should be one of your lighter colors. When coloring your top eyelid, start from your lash line and work up towards your crease. To intensify the look a little more, apply the same eyeshadow along your lower lash line as well.
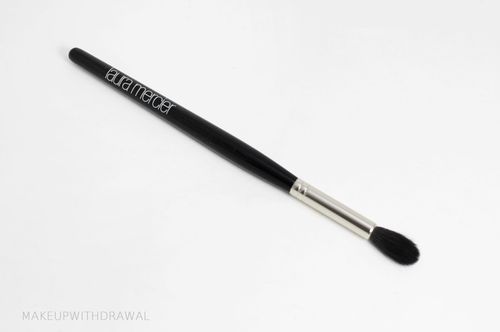
The brush that you use for this part is very important. We recommend the Laura Mercier Ponytail Eye Crease Brush ($30). Using this brush, dip into the darker smoky eyeshadow color of your choice. Make sure to tap off any excess shadow. Starting from the outer corner of your eye, slowly move into the crease – three quarter ways in. Use the brush in small, circular motions while moving the product from the outer eye into the corner of the eye. If you accidentally overdo it on the shadow, don’t worry! Take a different, clean brush and use it to blend out the extra shadow. Then, take the base color you applied at first and apply a small amount of it on the center of your eyelid.
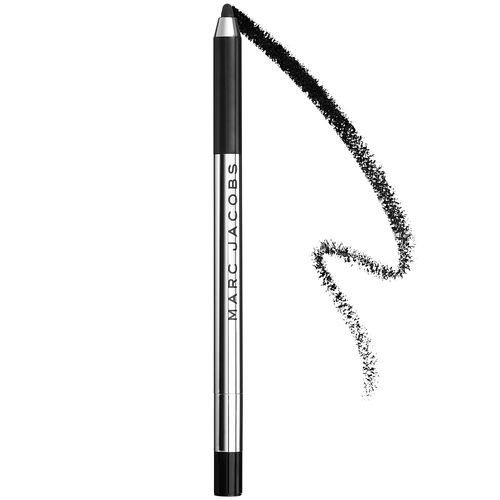
No smoky eye is complete without adding dark eyeliner. For this, use a pencil eyeliner – not liquid. We recommend the Marc Jacobs Beauty Highliner Gel Eye Crayon Eyeliner ($25). Begin to line your eyelid from the outer corner and work your way inwards (this is a common theme for smoky eye – start from the outside and work your way in). You can make it as thick or as thin as you’d like. To create the undone look, smudge the liner using your blending brush.
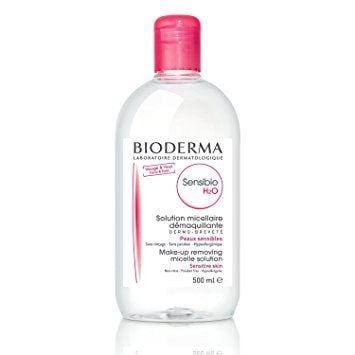
Your smoky eye look is done! For the most part. The last thing to do is to clean up the look a little bit so it doesn’t look too messy. You want it to look like an organized mess. Use Q-tips and Bioderma Sensibio H20 ($11) to clean up your look. Use this to clean up any excess powder and to even out the eye liner. Another way to clean up your eye is to blend a highlighter under your brow above, above the crease color. By doing this, it creates a clear transition of colors. While you’re at it, add highlighter in the inner corner of your eye to add a pop of color. Once you’re done cleaning, put on some mascara, or some false lashes, and you’re good to go!
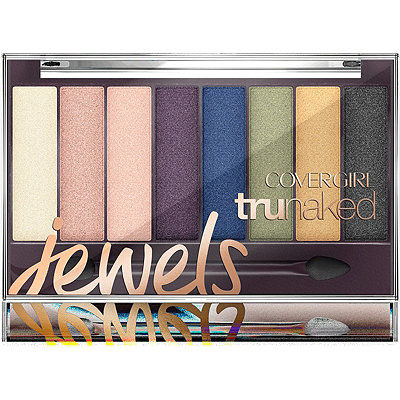
Here are the same products but cheaper, drugstore buys:
The NYX Eyeshadow primer: $7
Covergirl TruNaked Eyshadow Palette: $11
E.L.F Crease Brush: $3
Rimmel Scandaleyes Waterproof Kohl Liner: $5
Garnier SkinActive Micellar Cleansing Water: $7